- Best Lighting for Headshots photography at Home
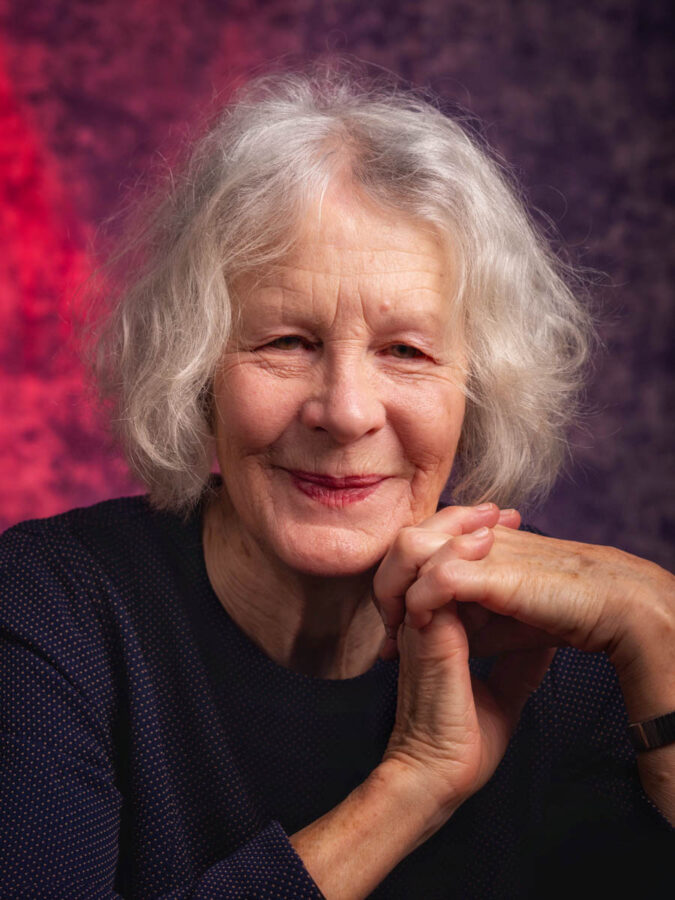
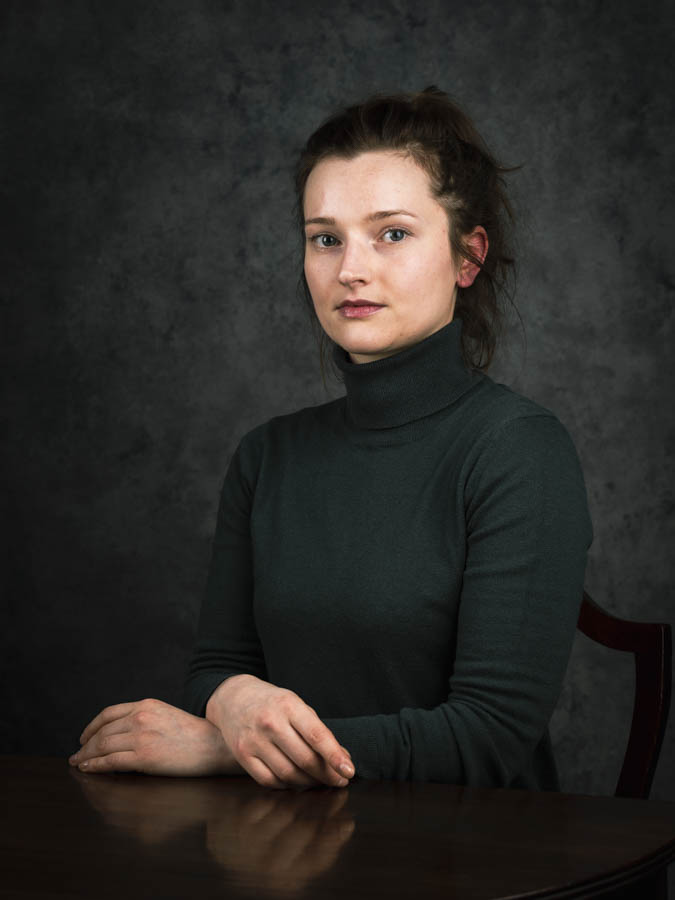
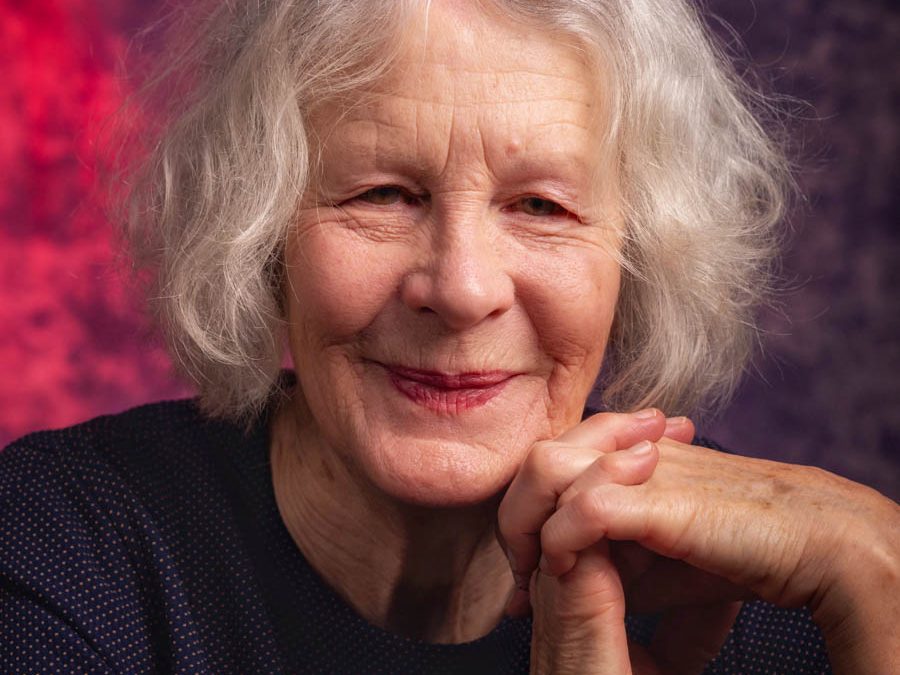
Creating professional-quality headshots at home is easier than you might think. The key is understanding how to make use of natural and artificial light to bring out the best in your subject.
- Natural Light:
Natural light is one of the easiest and most flattering options for headshots. Find a room with large windows where natural sunlight filters through. The ideal lighting is soft, diffused light, which reduces harsh shadows and makes skin tones look even. You can achieve this by positioning the subject close to the window and having them face the light. For the best effect, try shooting in the early morning or late afternoon when the sunlight is soft.
- Artificial Light:
If you don’t have access to good natural light, artificial light is the next best thing. One of the simplest options is to use a softbox or ring light, both of which can provide consistent and flattering lighting for your headshots. If you are using a ring light, position it directly in front of the subject, creating even lighting that enhances facial features and reduces shadows.
- Simple Headshot Lighting Setup
You don’t need a studio full of expensive equipment to create professional headshots. In fact, a simple headshot lighting setup can be just as effective when done right. Here’s how to create a basic setup that delivers stunning results.
Three-Point Lighting Setup:
For a more professional look, the three-point lighting setup is the go-to technique. This setup involves three light sources: a key light, a fill light, and a backlight.
- Key Light: The main source of light, positioned to one side of the subject’s face. It creates the main illumination and shadows.
- Fill Light: Placed on the opposite side of the key light, this light reduces the shadows created by the key light, ensuring the shadows aren’t too harsh.
- Backlight: Positioned behind the subject, this light adds depth to the photo by creating a subtle rim of light around the subject, separating them from the background.
If you don’t have multiple lights, don’t worry—this technique can still be simplified.
Natural Window Light with Reflectors:
If you only have access to natural light, you can create a similar effect using a window as your key light and a white reflector or even a large piece of white cardboard as your fill light. Position your subject near the window, and place the reflector on the opposite side to bounce light back onto the face, filling in shadows.
- One-Light Headshot Setup
Sometimes, less is more. A one-light headshot setup is an easy and effective way to create stunning portraits without the need for multiple lights. This setup is especially great for beginners or when shooting in small spaces.
- Single Softbox or Umbrella Light:
A softbox or umbrella light is ideal for headshots because it softens the light and creates a natural look. Position the light slightly above and to the side of the subject, angled down at about 45 degrees. This will create soft shadows and a flattering light that highlights facial features.
- Butterfly Lighting:
For a classic and flattering look, butterfly lighting (also known as Paramount lighting) is an excellent one-light option. Place the light directly in front of and above the subject, creating a shadow just under the nose. This lighting style works well for symmetrical faces and is commonly used in beauty photography.
Whether you’re a professional portrait photographer or just experimenting at home, a one-light setup can provide excellent results without the complexity of multi-light systems.
- Additional Tips for Perfect Headshot Lighting
As you experiment with different setups, keep the following tips in mind:
- Use a Diffuser: Whether you’re using natural or artificial light, a diffuser is a great tool to soften harsh light and create a more flattering look. You can purchase a professional diffuser or create a DIY version using a white sheet or curtain.
- Avoid Direct Overhead Light: Direct light from above can create unflattering shadows on the face, particularly under the eyes and chin. Always position your light source at an angle to the subject.
- Experiment with Angles: Don’t be afraid to move the light around and experiment with different angles. A slight shift in the position of the light can make a huge difference in the final result.
- Control the Background: Make sure your background isn’t distracting. A plain or softly lit background works best for headshots, as it keeps the focus on the subject.
Whether you’re setting up for a professional headshot session or capturing a portrait at home, lighting is the foundation of a great photo. By using simple setups like natural window light, a softbox, or a single light, you can create professional-quality images without the need for complicated equipment.
Remember, as a headshot photographer or even a hobbyist, mastering these lighting techniques will not only improve your headshots but also enhance your overall photography skills. With the right lighting, your photos will shine, and your subjects will look their absolute best.
For those who need a little extra help, a professional portrait photographer or headshot photographer can provide guidance, helping you master the art of lighting and composition. And if you’re looking for an experienced photographer in South West London, Sisiburn’s expertise can help you capture the perfect shot, every time.


